Because a picture tells 1000 words.
Images can add a lot to your page. They can make it look more appealing but they can also convey information much better than words in many circumstances. Including images is not too difficult but there are a few little tricks to doing it well. In this section we'll look at both.
If you just want to learn about the img tag feel free to read just the first bit but if you want to discover more then I encourage you to keep on reading.
An image is displayed using an img tag. It stands for image. Within the tag there are several attributes we may include but there are two which are fairly important.
<img src="URL" alt="image description" >
The src attribute stands for source. It is the location of the image which is to be included. It is a standard URL and similar to links may be absolute or relative. See the bit on Location Types in the previous section to find out more.
The alt attribute stands for Alternate Text and is a simple description of what the image is. Normally you won't see the description but it has it's uses.
Below is an image of a skateboard

You may be wondering why we don't use the title attribute for the description of the image. We can add the title attribute and it will display on hover but the title is generally used to add ancilliary information as opposed to a description. For this reason we have the alt attribute which is specifically for adding a description.
By default, images will display at their actual size. We may include two attributes, width and height to modify it's dimensions.
Below is an image of a rabbit at different sizes.


It's possible to modify the dimensions of the image using CSS too but we'll cover that in another tutorial.
Modifying the image dimenensions will not modify the actual file. It will only scale it on the page. A common mistake is to take images direct from a digital camera and put them up on a website using the width and height attributes to make them the desired size. The problem with this is that the original image is several megapixels large and several MB's in size. This can lead to the image being slow to download and display.
If you just include one of these attributes then it will scale the other one accordingly.
In the examples above we included images on their own outside of elements. Often we wish to place the images at specific points within our content however. You may include your image anywhere in your content, even within links and headings.
It is possible to control the placement of images to a much greater degree using CSS but that will be covered in another tutorial.
There are a few different file types which may be used for images. Using the right one can result in a higher quality image and a smaller file size. Below are the main file types used in web pages.
Below is an image with different levels of compression and file type to illustrate the difference.
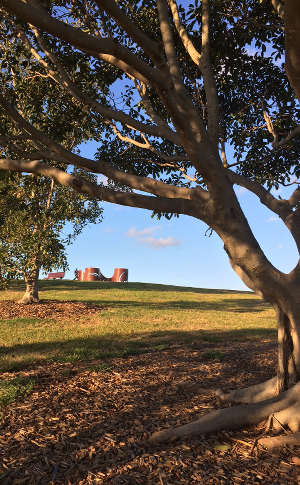
File Type: jpg
Quality Level: 100%
File Size: 268 KiB

File Type: jpg
Quality Level: 70%
File Size: 53 KiB
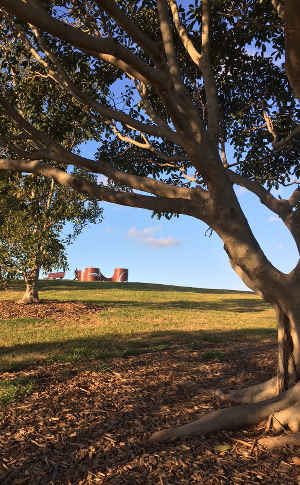
File Type: jpg
Quality Level: 40%
File Size: 33 KiB
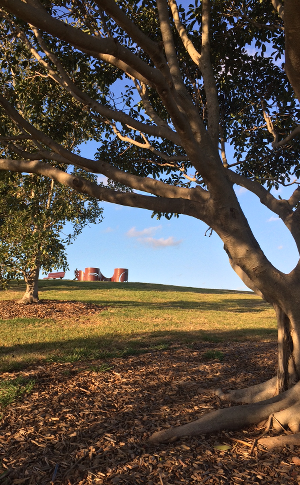
File Type: png
Quality Level: 40%
File Size: 339 KiB
The difference in quality between the jpg at 100% quality and 70% quality is negligible but the difference in file size is quite dramatic. You'll also notice that the png at 40% has reasonable image quality but is 130 KiB larger than jpg at 100%.
Now let's have a look at an image which is better suited to png.

File Type: png
Quality Level: 100%
File Size: 17 KiB

File Type: jpg
Quality Level: 100%
File Size: 23 KiB
The difference isn't as noticeable this time but if you look at the file sizes you'll notice it is about 25% more compact when using png.
Here are a few tips for effectively using images on your web pages.
Keep the file size as small as possible. This will make your pages load faster which will keep your users happy and also potentially give you benefits with search engines. To achieve this,
There are many good image file optimising tools which can automate the optimising task for you.
Think about where you place images in your content. The overall page will look neater if imgaes are placed consistently.
The size and dimensions of images is important also. The Golden Ratio can lead to images with dimensions which are more pleasing.
Are the colours in the image too bright? or too jarring?
Does the inclusion of the image add value? Often times, the right images can add a lot of value. A diagram or a graph for instance can convey an idea very clearly. Other times the images may be just eye candy and distract from the valueable content.
Now let's add some graphical flair to our content.
As we work through this tutorial, each section will add new tags allowing you to do more interesting things. My suggestion would be that you pick a topic or subject of interest to you and create a page about that. As you work through each section, add to and improve the page with the new tags you have learnt.